
Jellyfish amigurumi
This little guy is so easy to make. It takes barely any yarn and time to whip them up. I've made them with 5 tentacles but it's easy to add as many as you'd like. The length of the tentacles is also easy to change. Have fun and make sure to send me pictures of any you make at armyofowls@gmail.com
This little guy is so easy to make. It takes barely any yarn and time to whip them up. I've made them with 5 tentacles but it's easy to add as many as you'd like. The length of the tentacles is also easy to change. Have fun and make sure to send me pictures of any you make at armyofowls@gmail.com
Materials:
- less than 100 yds of yarn. Any weight or color would work fine.
- H hook
- yarn needle
Top:
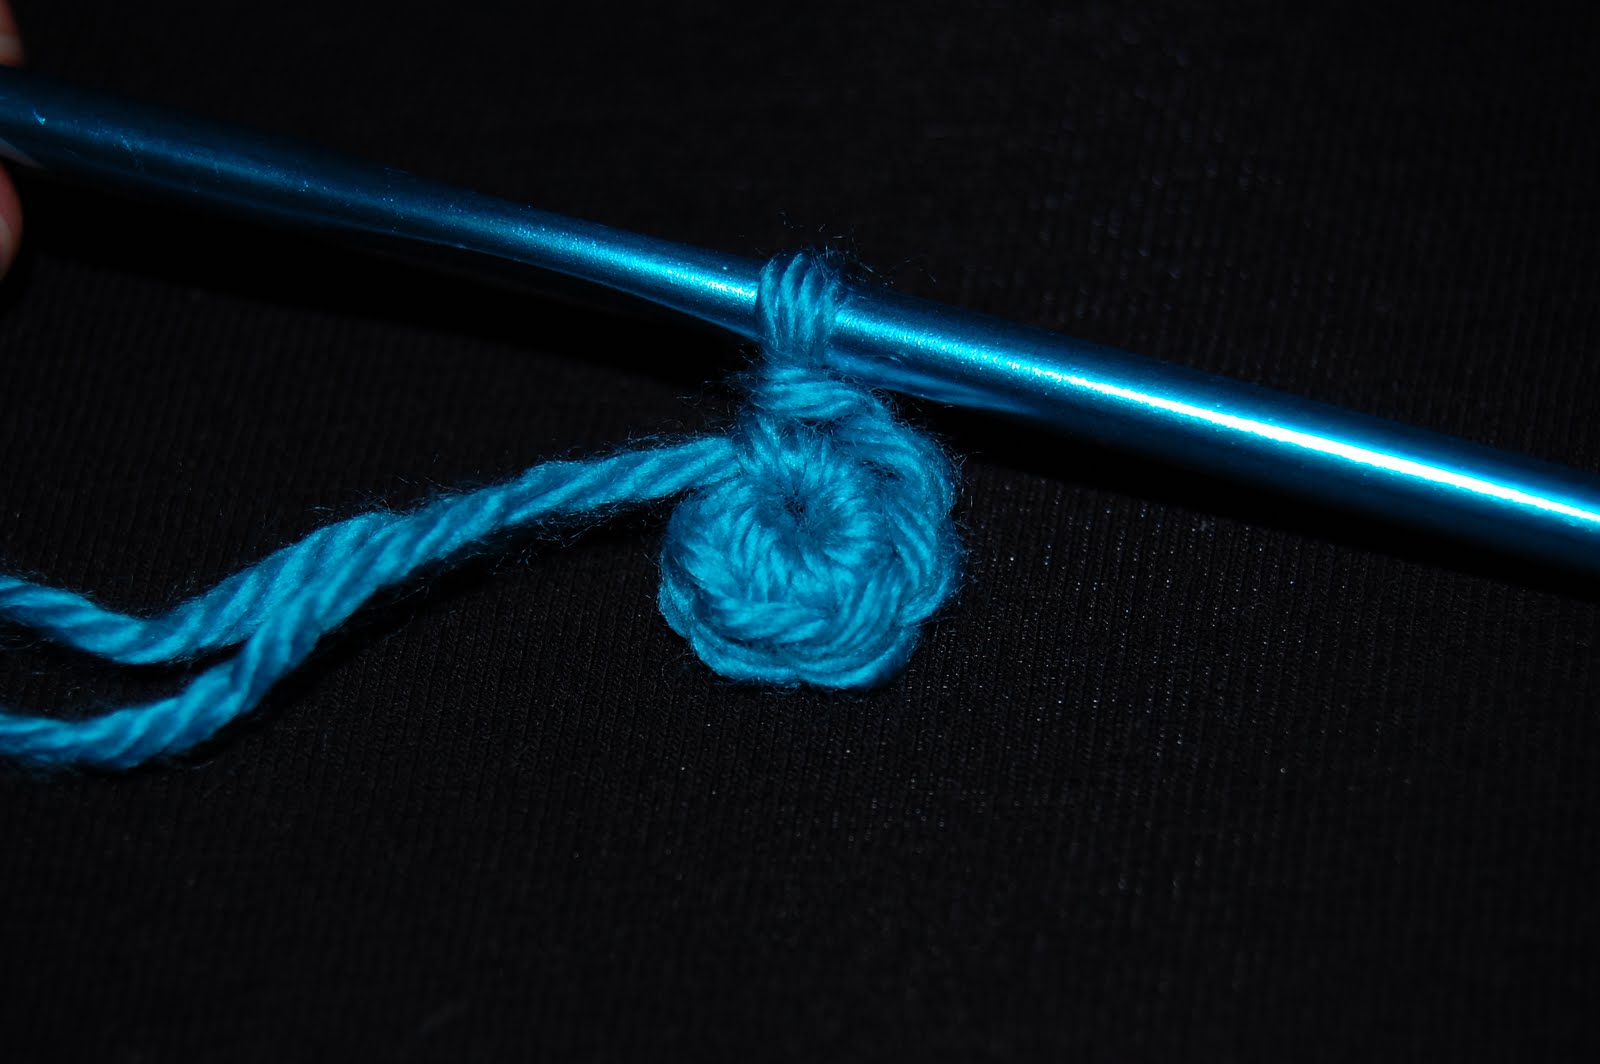 Rnd 1: make a magic ring. work 6 sc in ring. (alternately, chain 2, work 6 sc in second ch from hook)
 Rnd 2: 2sc in each sc around. (12 total)
 Rnd 3: sc in first st. 2 sc in next st. repeat around. (18 sc total)
 Rnd 4: sc in first 2 st. 2 sc in next st. repeat around. (24)
 Rnd 5-9: sc around. (24 total)

 Rnd 10: sl st in 1st st. ch 1, sk next stitch. 4 sc in next st. ch 1, sk next st. repeat around. Fasten off.
Tentacles:
 ch 25. leave a long tail for sewing. (Make 5)
Assembly:
 Turn jellyfish top inside out. Sew the tentacles as shown in the photo.
After all tentacles are sewn on turn jellyfish top right side out. You're done!
Very cute! Thanks for sharing :-)
ReplyDeleteThese are fabulous! Your pictures and tutorial are very helpful and I hope to complete one of these dude by x-mas! Thanks!
ReplyDeleteThank you for sharing this I decided i wanted to learn how to crochet tonight, so I finished this all in one night!
ReplyDeleteThank you so much for sharing, this little guy is so cute!
ReplyDeleteThank you so very much for sharing. I am making it for donation to Crafting for a Care.
ReplyDeleteThank you! I just made my first one and it is adorable! My daughter wants me to make many of these to hang under her bunk bed!
ReplyDeleteI love the Jellyfish! however was confused with the sewing, How did you do it?
ReplyDeleteI just left a long tail when I cut the yarn after chaining. Then I threaded the tail onto a needle and sewed the tentacles into the underside of the jellyfish. The beauty of this pattern is that it doesn't really matter where you put the tentacles as long as they're placed evenly around the underside of the jellyfish body. Plus, if you're a sloppy seamstress like me, the stitches are hidden.
ReplyDeleteI hope that helped! To further clarify, I'd sew into the body then come up and sew into part of the tentacles until they felt secure when I tugged on them.
Fun fact! For curly tentacles, skip the first stitch and come back up!! I love the effect it has!!
ReplyDeleteHappy Crocheting!!
what does "sk" mean in round #10 ?
ReplyDeleteIt stands for skip
Delete