Showing posts with label patterninpictures. Show all posts

Thursday, November 18, 2010

Pattern in Pictures: Jellyfish!


Jellyfish amigurumi

This little guy is so easy to make. It takes barely any yarn and time to whip them up. I've made them with 5 tentacles but it's easy to add as many as you'd like. The length of the tentacles is also easy to change. Have fun and make sure to send me pictures of any you make at armyofowls@gmail.com

Materials:
  • less than 100 yds of yarn. Any weight or color would work fine.
  • H hook
  • yarn needle
Top:
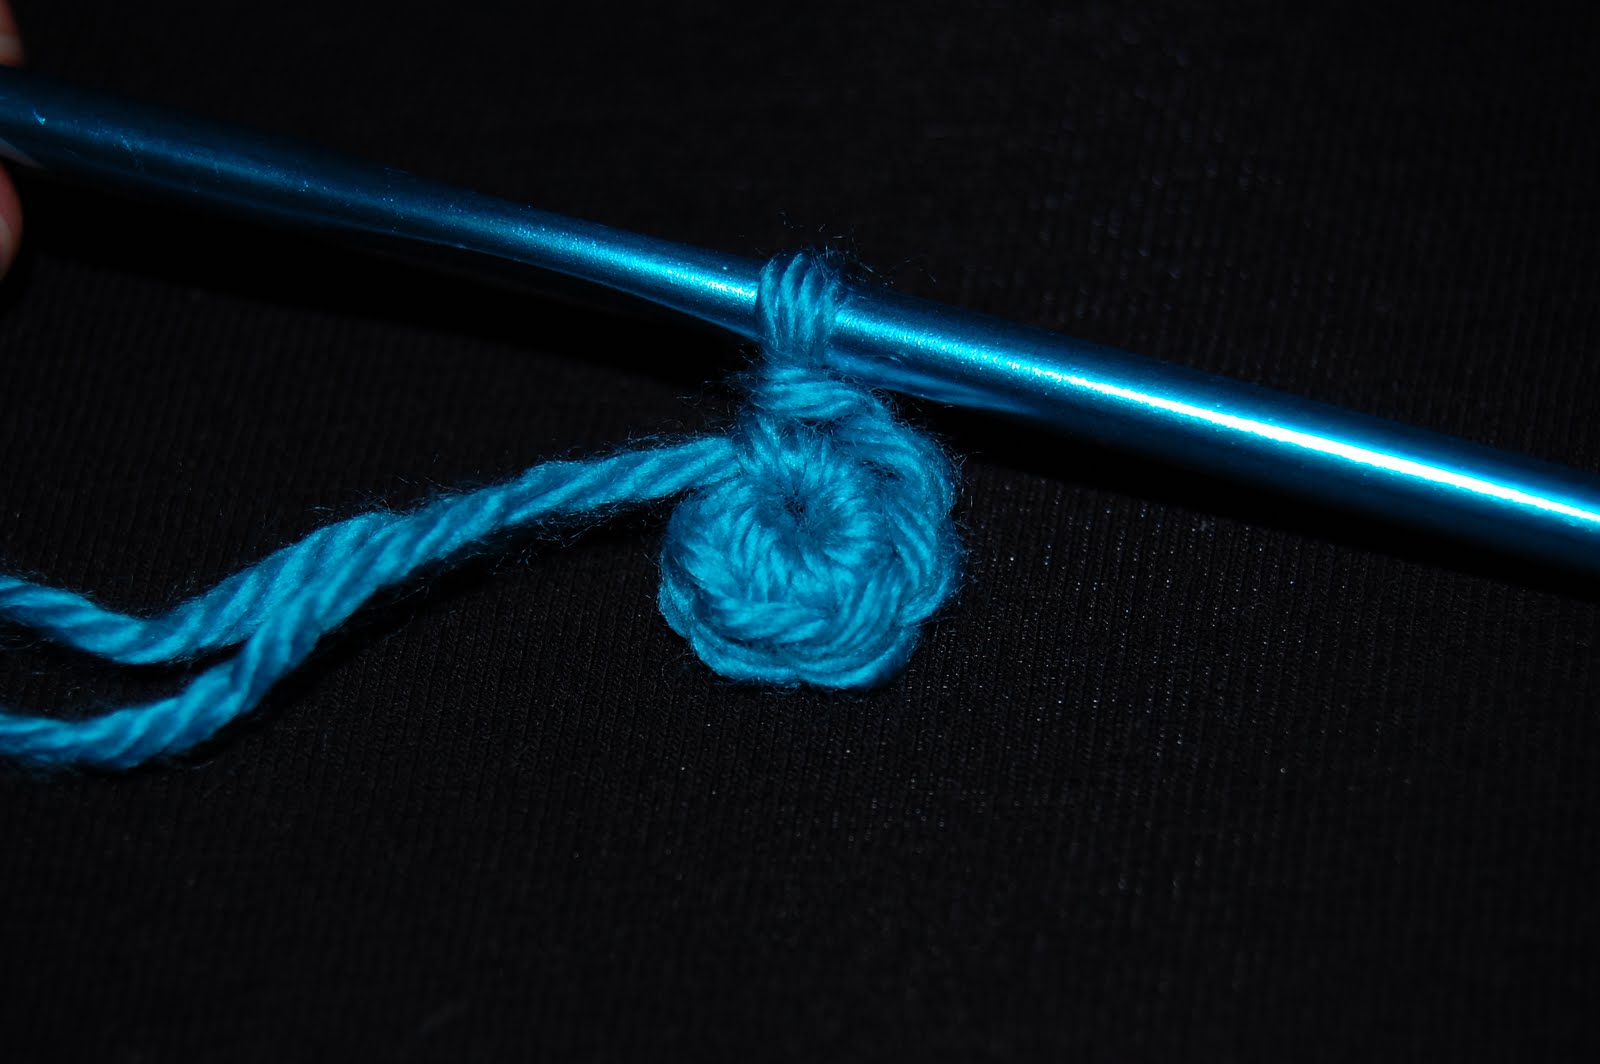
Rnd 1: make a magic ring. work 6 sc in ring. (alternately, chain 2, work 6 sc in second ch from hook)

Rnd 2: 2sc in each sc around. (12 total)

Rnd 3: sc in first st. 2 sc in next st. repeat around. (18 sc total)

Rnd 4: sc in first 2 st. 2 sc in next st. repeat around. (24)

Rnd 5-9: sc around. (24 total)


Rnd 10: sl st in 1st st. ch 1, sk next stitch. 4 sc in next st. ch 1, sk next st. repeat around. Fasten off.


Tentacles:
ch 25. leave a long tail for sewing. (Make 5)

Assembly:
Turn jellyfish top inside out. Sew the tentacles as shown in the photo.


After all tentacles are sewn on turn jellyfish top right side out. You're done!

Thursday, August 26, 2010

Pattern in Pictures: Crochet Necklace

Please note: This pattern is NOT mine. You can find the designer's blog here.

Now, onto the festivities. :D


Materials:
  • small amount of worsted weight yarn. (I used sport yarn and a larger hook)
  • G hook (4 mm)
  • 1-2 buttons
  • yarn needle

Abbreviations Used:
  • ch=chain
  • sc= single crochet
  • sl st= slip stitch
  • dc=double crochet
Necklace:


Ch 77.


sc in second ch from hook and in following 3 ch


Ch 76.


Making sure the ch of 76 isn't twisted, sc in last 4 chains.


Ch 1, turn, sc in first 4 sc. Ch 80.


sc in last 4 sc.


Ch 1, turn, Ch 84. Sc in last 4 sc.


Ch 3, sl st to the opposite corner. This makes the buttonhole used to close the necklace.


Flower:

make a magic ring and ch 3 (counts as first dc) [altenately: ch 4 and do 9 dc in the 4th ch from the hook]


9 dc in magic ring sl st to the top of ch 3. (10 dc total)


Ch 1. In next stitch work 2 dc.


Ch 3, sl st in first ch. (Hey look at that, you made a picot!)


work 2 dc in same st.


ch 1, sl st in next stitch work [2 dc, picot, 2 dc in following st]

Repeat around. It should work out to look like the photo. 5 petals total. If you want more petals, just multiply the number of petals you want by 2. That's how many dc you should start out with in your magic ring. (Or ch 4!) Just remember the first ch 3 counts as one of the dc!

Now just sew a button onto the end of the necklace that doesn't have the ch 3 at the end. You can also sew a button to the middle of the flower, but it's not mandatory. Sew the flower onto the necklace whereever you'd like it.


This pattern is very easily adaptable. I have a really massive neck, so a lot of times I'll use a bigger hook or even ch more to begin with. All you really need to have it the 4 sc on either end to make the tabs you sew the button onto to close it. I have it on good authority that this also works as a headband. :D Be creative and as always, send any questions or pictures to me at armyofowls@gmail.com.

Tuesday, February 23, 2010

Star Blanket pattern illustrated

This is one of the first few projects I learned. I've made so many of them over the years. They make really nice rugs and throw blankets.


Materials:
-At least 42 oz. of worsted weight yarn.
-K hook or larger.
Gauge isn't important for this project.


Chain 6.


Join with a sl st to make a ring.


Ch 3. (This counts as the first double crochet here and throughout.)


dc 15 into ring. (16 dc total)


Join with a sl st to the top of beginning ch 3.


Ch 3.


dc into next dc. If you want a textured look to your blanket, I'd suggest going in only the back loops from here on out.


ch 4.


dc in next 2 dc, ch4. Repeat around. You should end up with 8 pairs of dc and 8 ch 4 spaces.


Join with a sl st to top of ch 3.


sl st your way to the first ch 4 space.


Ch 3


2 more dc in same ch 4 space. ch 3, 3 dc in same ch 4 space. Skip to next ch 4 space. [3dc, ch 3, 3dc] all in same ch 4 space. Repeat around.


Join with a sl st to top of beginning ch 3. (48 dc and 8 ch 3 spaces total.)


Sl st your way over to the first ch 3 space. Ch 3, dc, ch2, 2 dc all in same ch 3 space.


Again, if you want the textured look, at this step, work in back loops only. *Dc in next 2 dc. Skip 2 dc. Dc in next 2 dc. This should put you at the next ch 2 space. 2dc, ch 2, 2 dc all in the same ch 2 space. * Repeat from * to * around.


Join to top of beginning ch 3.


The last round is what you work for the rest of the blanket.
-sl st your way to the corner
-ch 3
-work 2dc, ch 2, dc in every chain two space
-work a dc in every dc, skipping the middle two dc. It should increase by one on each side of the middle with every row. You should always have 8 ch 2 spaces, and your total dc should be some multiple of 8.


Here are some photos of some that I've finished. Please email me pictures (isisfordylan@gmail.com) of any that you guys make. I'll post them!