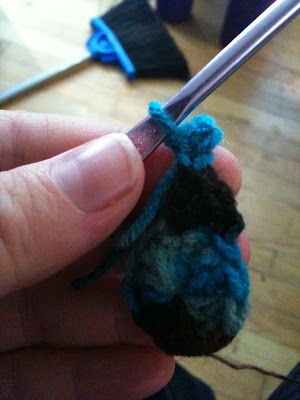
 Please note: This pattern is NOT mine. You can find the designer's blog here.
Now, onto the festivities. :D
Materials:
- small amount of worsted weight yarn. (I used sport yarn and a larger hook)
- G hook (4 mm)
- 1-2 buttons
- yarn needle
Abbreviations Used:
- ch=chain
- sc= single crochet
- sl st= slip stitch
- dc=double crochet
Necklace:


make a magic ring and ch 3 (counts as first dc) [altenately: ch 4 and do 9 dc in the 4th ch from the hook]


ch 1, sl st in next stitch work [2 dc, picot, 2 dc in following st]
Repeat around. It should work out to look like the photo. 5 petals total. If you want more petals, just multiply the number of petals you want by 2. That's how many dc you should start out with in your magic ring. (Or ch 4!) Just remember the first ch 3 counts as one of the dc!
Now just sew a button onto the end of the necklace that doesn't have the ch 3 at the end. You can also sew a button to the middle of the flower, but it's not mandatory. Sew the flower onto the necklace whereever you'd like it.
This pattern is very easily adaptable. I have a really massive neck, so a lot of times I'll use a bigger hook or even ch more to begin with. All you really need to have it the 4 sc on either end to make the tabs you sew the button onto to close it. I have it on good authority that this also works as a headband. :D Be creative and as always, send any questions or pictures to me at armyofowls@gmail.com.


